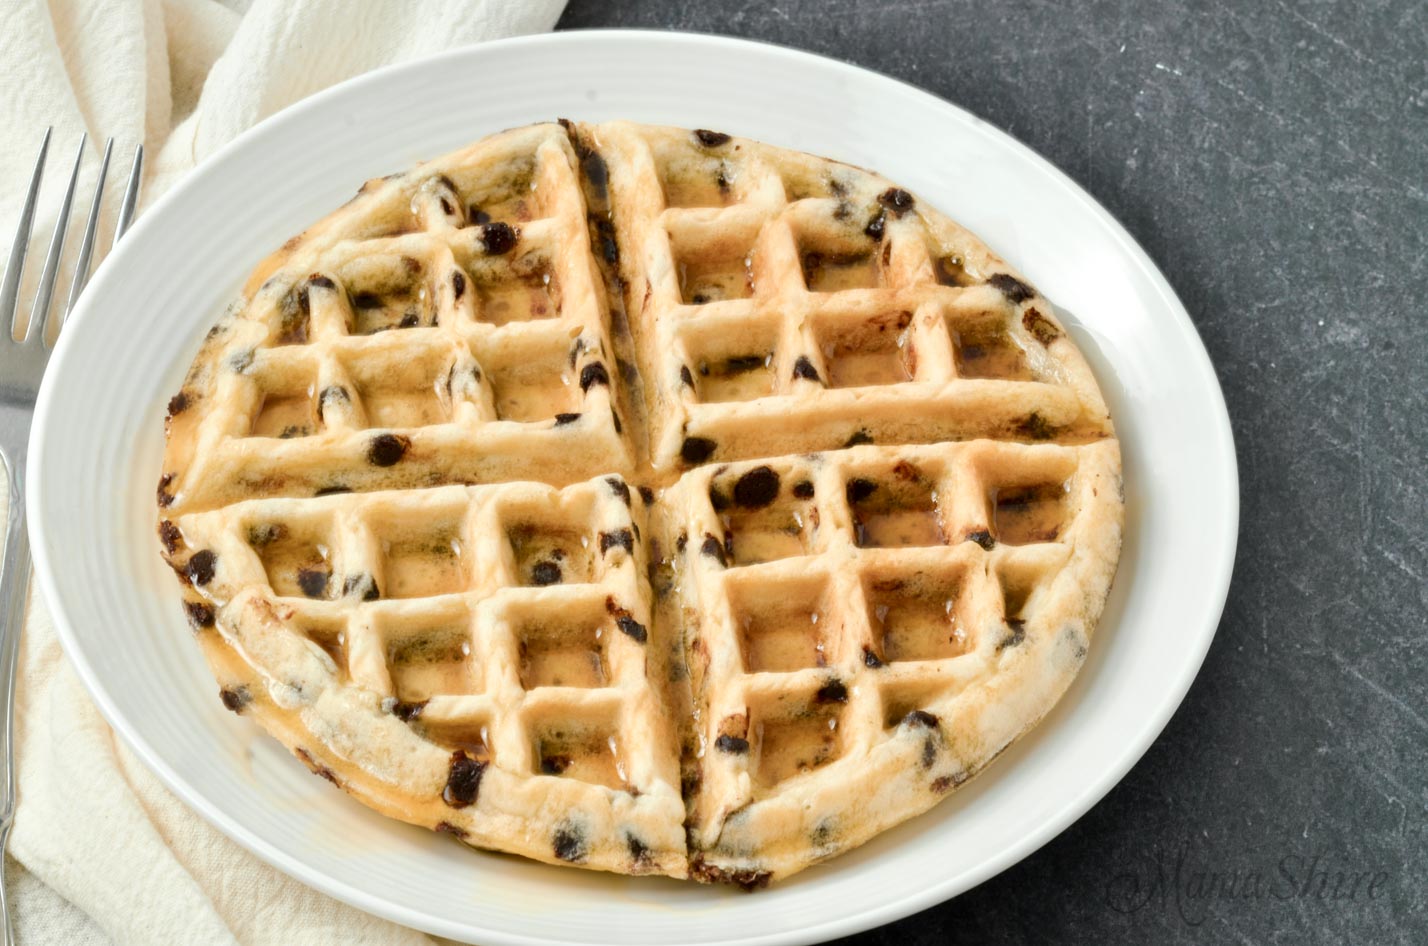
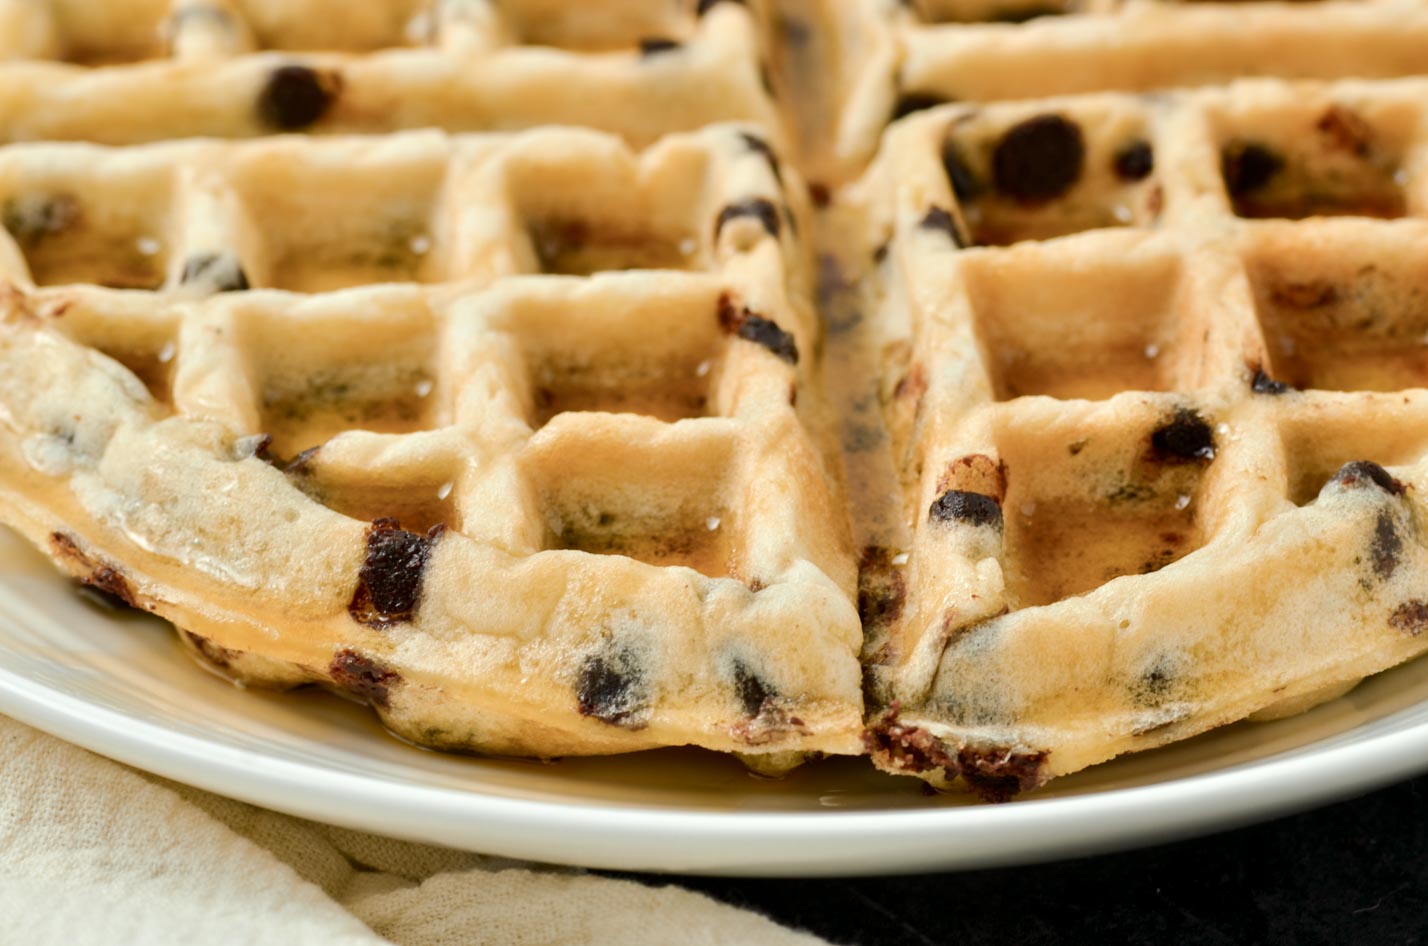
These gluten-free chocolate chip waffles make for such a fun breakfast. I used Enjoy Life’s Mini Chips, and the mini chips work really well in the waffle maker. These would be great for a snack, too. I put a bit of syrup on mine, but they taste delicious without, too.

Want to save this recipe?
Jump to:
Instructions
Preheat the waffle maker and spray with non-stick spray if needed.
In a medium-sized bowl, whisk together the gluten-free flour, sugar, baking powder, and salt.
Add in milk, eggs, and melted butter. Stir together until combined. The batter will be slightly lumpy.
Stir in the chocolate chips.
Measure out the amount needed for your waffle maker and pour this amount into the waffle maker.
Cook per your waffle maker’s directions.
Remove the waffle after cooking to a wire rack. This will help the bottom side not to get soggy.
To keep waffles warm: If making several batches to be eaten right away, place the waffles on a wire rack in the oven set at 200° to keep warm until they are all ready. To keep them crispy, do not stack the waffles.
Ingredient notes
Gluten-Free Flour: My favorite gluten-free & dairy-free flour blends to use are Pamela’s Gluten-Free 1:1 All-Purpose Flour and Better Batter Gluten-Free Flour. I’ve been using them both with great results. They are both a 1-1 substitute. If you use another gluten-free flour blend, be sure that it contains xanthan gum. If not, add 1/2 teaspoon of xanthan gum per cup of flour.
Dairy-Free Butter: Suggested brands are Country Crock Plant Based with Avocado Oil, Smart Balance, or Earth Balance.
Mini chocolate chips: Enjoy Life is dairy-free, and the mini size of these chips works perfectly with waffles.
Other ingredients: Sugar, baking powder, salt, eggs.

Storing
Refrigerate leftover waffles for 3-4 days.
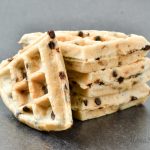
To freeze: After completely cooling, layer the waffles with parchment paper between each one and place them in a freezer bag. Squeeze out as much air from the bags as possible before completely sealing. Waffles can be frozen for up to 3 months.
To reheat: You can reheat directly from the freezer or place frozen waffles in the refrigerator overnight to thaw. Depending on the thickness, these can be heated in a toaster on low for a few settings to get them heated thoroughly without burning. Or reheat in an air fryer or oven.

More gluten-free breakfast recipes


Gluten-Free Chocolate Chip Waffles (Dairy-Free)
- Prep Time: 5 minutes
- Cook Time: 15 minutes
- Total Time: 20 minutes
- Yield: 2–4 Servings 1x
- Category: Breakfast
- Method: Waffle Maker
- Diet: Gluten Free
Description
Treat yourself and your family with this yummy gluten-free chocolate chip waffles. Perfect for breakfast or as a snack.
Ingredients
- 1 cup gluten-free flour mix*
- 2 tablespoons sugar
- 1 teaspoon baking powder
- ¼ teaspoon salt
- 1 cup unsweetened almond or cashew milk
- 2 eggs
- 3 tablespoons dairy-free butter, melted**
- ½ teaspoon vanilla
- ½ cup Enjoy Life Mini Chocolate Chips
Instructions
Preheat waffle maker and spray with non-stick spray if needed.
In a medium-size bowl whisk together the gluten-free flour, sugar, baking powder, and salt.
Add in milk, eggs, and melted buttery spread. Stir together until combined. The batter will be slightly lumpy.
Stir in the chocolate chips.
Measure out the amount needed for your waffle maker and pour this amount into the waffle maker.
Cook per your waffle makers directions.
Remove waffle after cooking to a wire rack. Don’t stack on plates until ready to eat so they will stay crispy.
If making several batches to be eaten right away place the waffles on a wire rack in the oven set at a low setting like 200° to keep warm until they are all ready. To keep them crispy do not stack the waffles.
Notes
*Gluten-Free Flour: My favorite gluten-free & dairy-free flour blends to use are Pamela’s Gluten-Free 1:1 All-Purpose Flour and Better Batter Gluten-Free Flour. I’ve been using them both with great results. They are both a 1-1 substitute. If you use another gluten-free flour blend, be sure that it contains xanthan gum. If not, add 1/2 teaspoon of xanthan gum per cup of flour.
**Dairy-Free Butter: Suggested brands are Country Crock Plant Based with Avocado Oil, Smart Balance, or Earth Balance.
Special Tools: Flip Waffle Maker with Removable Plates or Cuisinart Waffle Maker
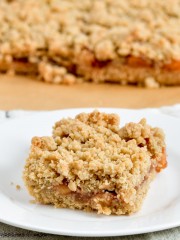
You may also enjoy


Jenn
I have the pickiest son when it comes to eating. He loves waffles & I’m tired of him eating frozen waffles. So I decided to make these. Both of my children loved them, & so did my man. 💖
MamaShire
That’s wonderful!
Mary
Hihi! these look super tasty! I can’t have tree nuts, could I use unsweetened soy milk instead?
MamaShire
Yes, you can use another type of milk.